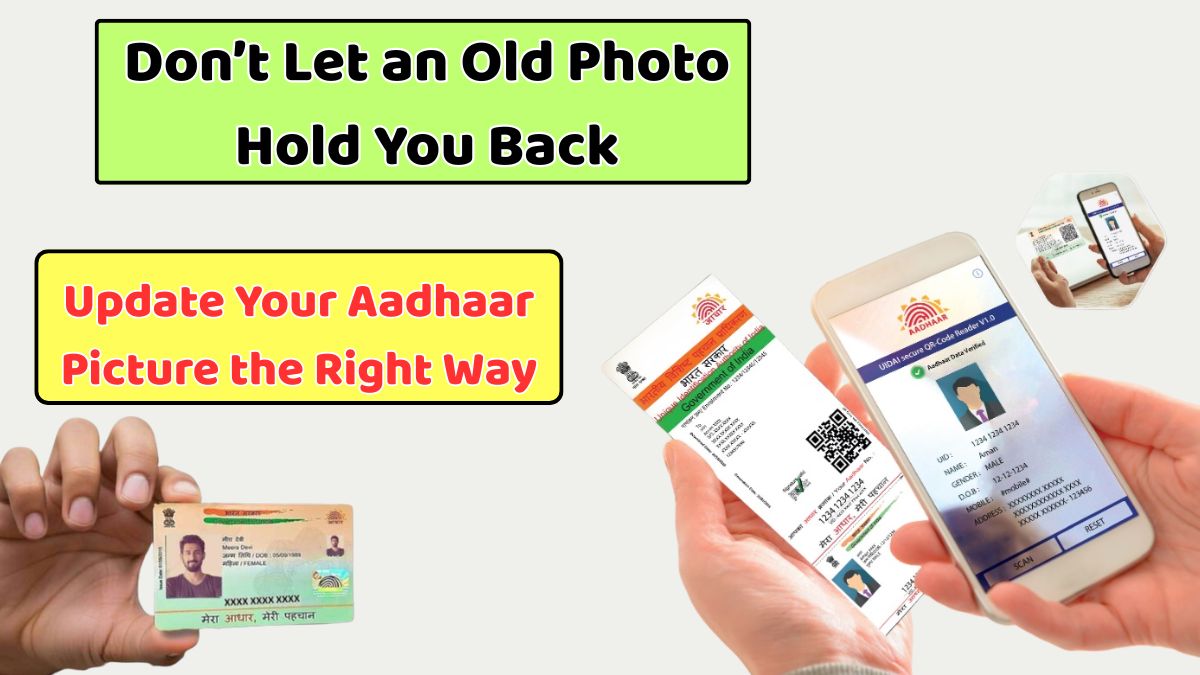
You hand someone your Aadhaar card, and there it is — a blurry, childhood photo that no longer looks like you. Maybe you even hesitate to show it. It’s awkward, right? But here’s the good news: you don’t have to live with that old photo forever.
If you’re one of those people whose Aadhaar details are all correct — name, date of birth, phone number, email, even the address — but the photo makes you cringe, then it’s time to fix it.
Let’s walk through exactly how to update your Aadhaar card photo — without stress, confusion, or wasting time.
Why Your Aadhaar Photo Really Matters
Aadhaar isn’t just another ID card. It’s the identity document in India — your key to accessing government schemes, subsidies, jobs, and even mobile SIMs or bank accounts.
But if your Aadhaar photo doesn’t match your current appearance, it can cause:
- Verification issues
- Awkward questions at government offices
- Problems during travel or exams
- General embarrassment
Can You Change Aadhaar Photo Online?
Unfortunately, no. Unlike name, address, or mobile number — which you can update online — your Aadhaar photo can only be changed at an Aadhaar Seva Kendra or Enrolment Centre.
Why? Because a live photo and biometric re-verification (iris scan, fingerprint) is required.
Step-by-Step: How to Change Photo in Aadhaar Card
Step 1: Visit the UIDAI Website
Go to uidai.gov.in, the official website of UIDAI (Unique Identification Authority of India).
Step 2: Download the Aadhaar Update Form
Under the “My Aadhaar” section, click on “Enrolment & Update Form”.
Download the form and take a printout.
Step 3: Fill Out the Form
Enter your current Aadhaar number and other personal details accurately.
Step 4: Visit the Nearest Aadhaar Enrolment Center
Take the filled form and your existing Aadhaar card to the nearest Aadhaar Seva Kendra.
Step 5: Biometric & Photo Update
- Your photo will be clicked on the spot
- Iris scan and fingerprint update will be done again
- Staff will verify your form and details
Step 6: Pay the Required Fee
You’ll need to pay ₹100 (including GST) for the photo and biometric update.
Step 7: Get Your URN Number
Once the process is complete, you’ll receive a URN (Update Request Number).
Keep this safe — you’ll need it to track the status of your update.
How to Track Aadhaar Photo Update Status
Here’s how to know whether your photo update has been processed:
- Visit https://uidai.gov.in
- Click on “Check Aadhaar Update Status”
- Enter your URN Number and Aadhaar number
- You’ll see whether your update has been approved or is still in process
- If approved, you can also download the updated Aadhaar PDF from the same site.
FAQs – You’re Not Alone If You’re Wondering:
Q1: Can I update my Aadhaar photo online?
No, photo updates require a biometric verification, which must be done in person at a center.
Q2: Do I need to carry any document for Aadhaar photo update?
No new document is needed — just your existing Aadhaar and the filled form.
Q3: Is it mandatory to update the photo?
Not mandatory — but strongly recommended if your photo is outdated or unclear.
Q4: Will I get a new Aadhaar number after photo update?
No. Your Aadhaar number remains the same — only the photo (and any updated biometrics) are changed.
Q5: Can I choose which photo to upload?
No, the photo is clicked live at the Aadhaar center and uploaded directly by the staff.
Q6: What if I lose my URN?
If you’ve lost your URN, you can still check the update status using your Aadhaar and OTP via UIDAI’s portal.


